MetaWear Guide Series Part 5
Streaming Data
This is part 5 of a multipart series showing you how to get started with the MetaWear platform. View the contents of the series to easily skip forwards or backwards
A key concept to grasp with the MetaWear platform is routing. You interact with sensor data from the board by creating routes:
Routes are constructed via a Java DSL that enables users to express how they want to process the data rather than manage callback functions and store IDs.
Let’s construct a data route for the board accelerometer. To begin, we will add a switch to our UI to turn the accelerometer on and off. We do this by adding the following code to the activity_my.xml, still within the RelativeLayout tag:
//...other buttons
<Switch
        android:layout_width="wrap_content"
        android:layout_height="wrap_content"
        android:text="Toggle Accelerometer"
        android:id="@+id/accel_switch"
        android:layout_below="@+id/led_off"
        android:layout_centerHorizontal="true"
        android:layout_marginTop="66dp" />
Just like in the previous post where we used getModule to access the LED, we do the same for the accelerometer. We’ll need to import the module, our switch, and a couple of other metawear tools:
import com.mbientlab.metawear.module.Accelerometer;
import android.widget.Switch;
import android.widget.CompoundButton;
import com.mbientlab.metawear.RouteManager;
import com.mbientlab.metawear.data.CartesianFloat;
We need to declare the variable (again, same as for the LED), as well as our switch and a few other constants which we will come to soon:
private Switch accel_switch;
private Accelerometer accelModule;
private static final float ACC_RANGE = 8.f, ACC_FREQ = 50.f;
private static final String STREAM_KEY = "accel_stream";
Now we define the accelModule within the connected() block:
public void connected() {
            Log.i(TAG, "Connected");
            try {
                ledModule = mwBoard.getModule(Led.class);
                accelModule = mwBoard.getModule(Accelerometer.class); //get the Accelerometer module
            } catch (UnsupportedModuleException e) {
                e.printStackTrace();
            }
Next we will create an onClick listener for the accelerometer switch. The syntax for the switch onClick is a little different, but the concept is the same:
Switch accel_switch = (Switch) findViewById(R.id.accel_switch);
            accel_switch.setOnCheckedChangeListener(new CompoundButton.OnCheckedChangeListener() {
                public void onCheckedChanged(CompoundButton buttonView, boolean isChecked) {
                    Log.i("Switch State=", "" + isChecked);
                    if (isChecked) {
                    	//...code continues
We create our accelerometer data route within the switch isChecked code block:
if (isChecked) {
    accelModule.setOutputDataRate(ACC_FREQ);
    accelModule.setAxisSamplingRange(ACC_RANGE);

    accelModule.routeData()
            .fromAxes().stream(STREAM_KEY)
            .commit().onComplete(new CompletionHandler<RouteManager>() {
        @Override
        public void success(RouteManager result) {
            result.subscribe(STREAM_KEY, new RouteManager.MessageHandler() {
                @Override
                public void process(Message message) {
                    CartesianFloat axes = message.getData(CartesianFloat.class);
                    Log.i(TAG, axes.toString());
                }

            });
        }

        @Override
        public void failure(Throwable error) {
            Log.e(TAG, "Error committing route", error);
        }
    });
    accelModule.enableAxisSampling(); //You must enable axis sampling before you can start
    accelModule.start();
} else {
    accelModule.disableAxisSampling(); //Likewise, you must first disable axis sampling before stopping
    accelModule.stop();
}
There is a lot happening in the code block above. A few things to notice - we setup the data route with routeData and then select stream as our method (we could also use logging, which we will look at in the next post). We then have a completion manager for the stream, and we use the subscribe method to access the resulting stream. Only after all this is setup do we actually invoke the start method.
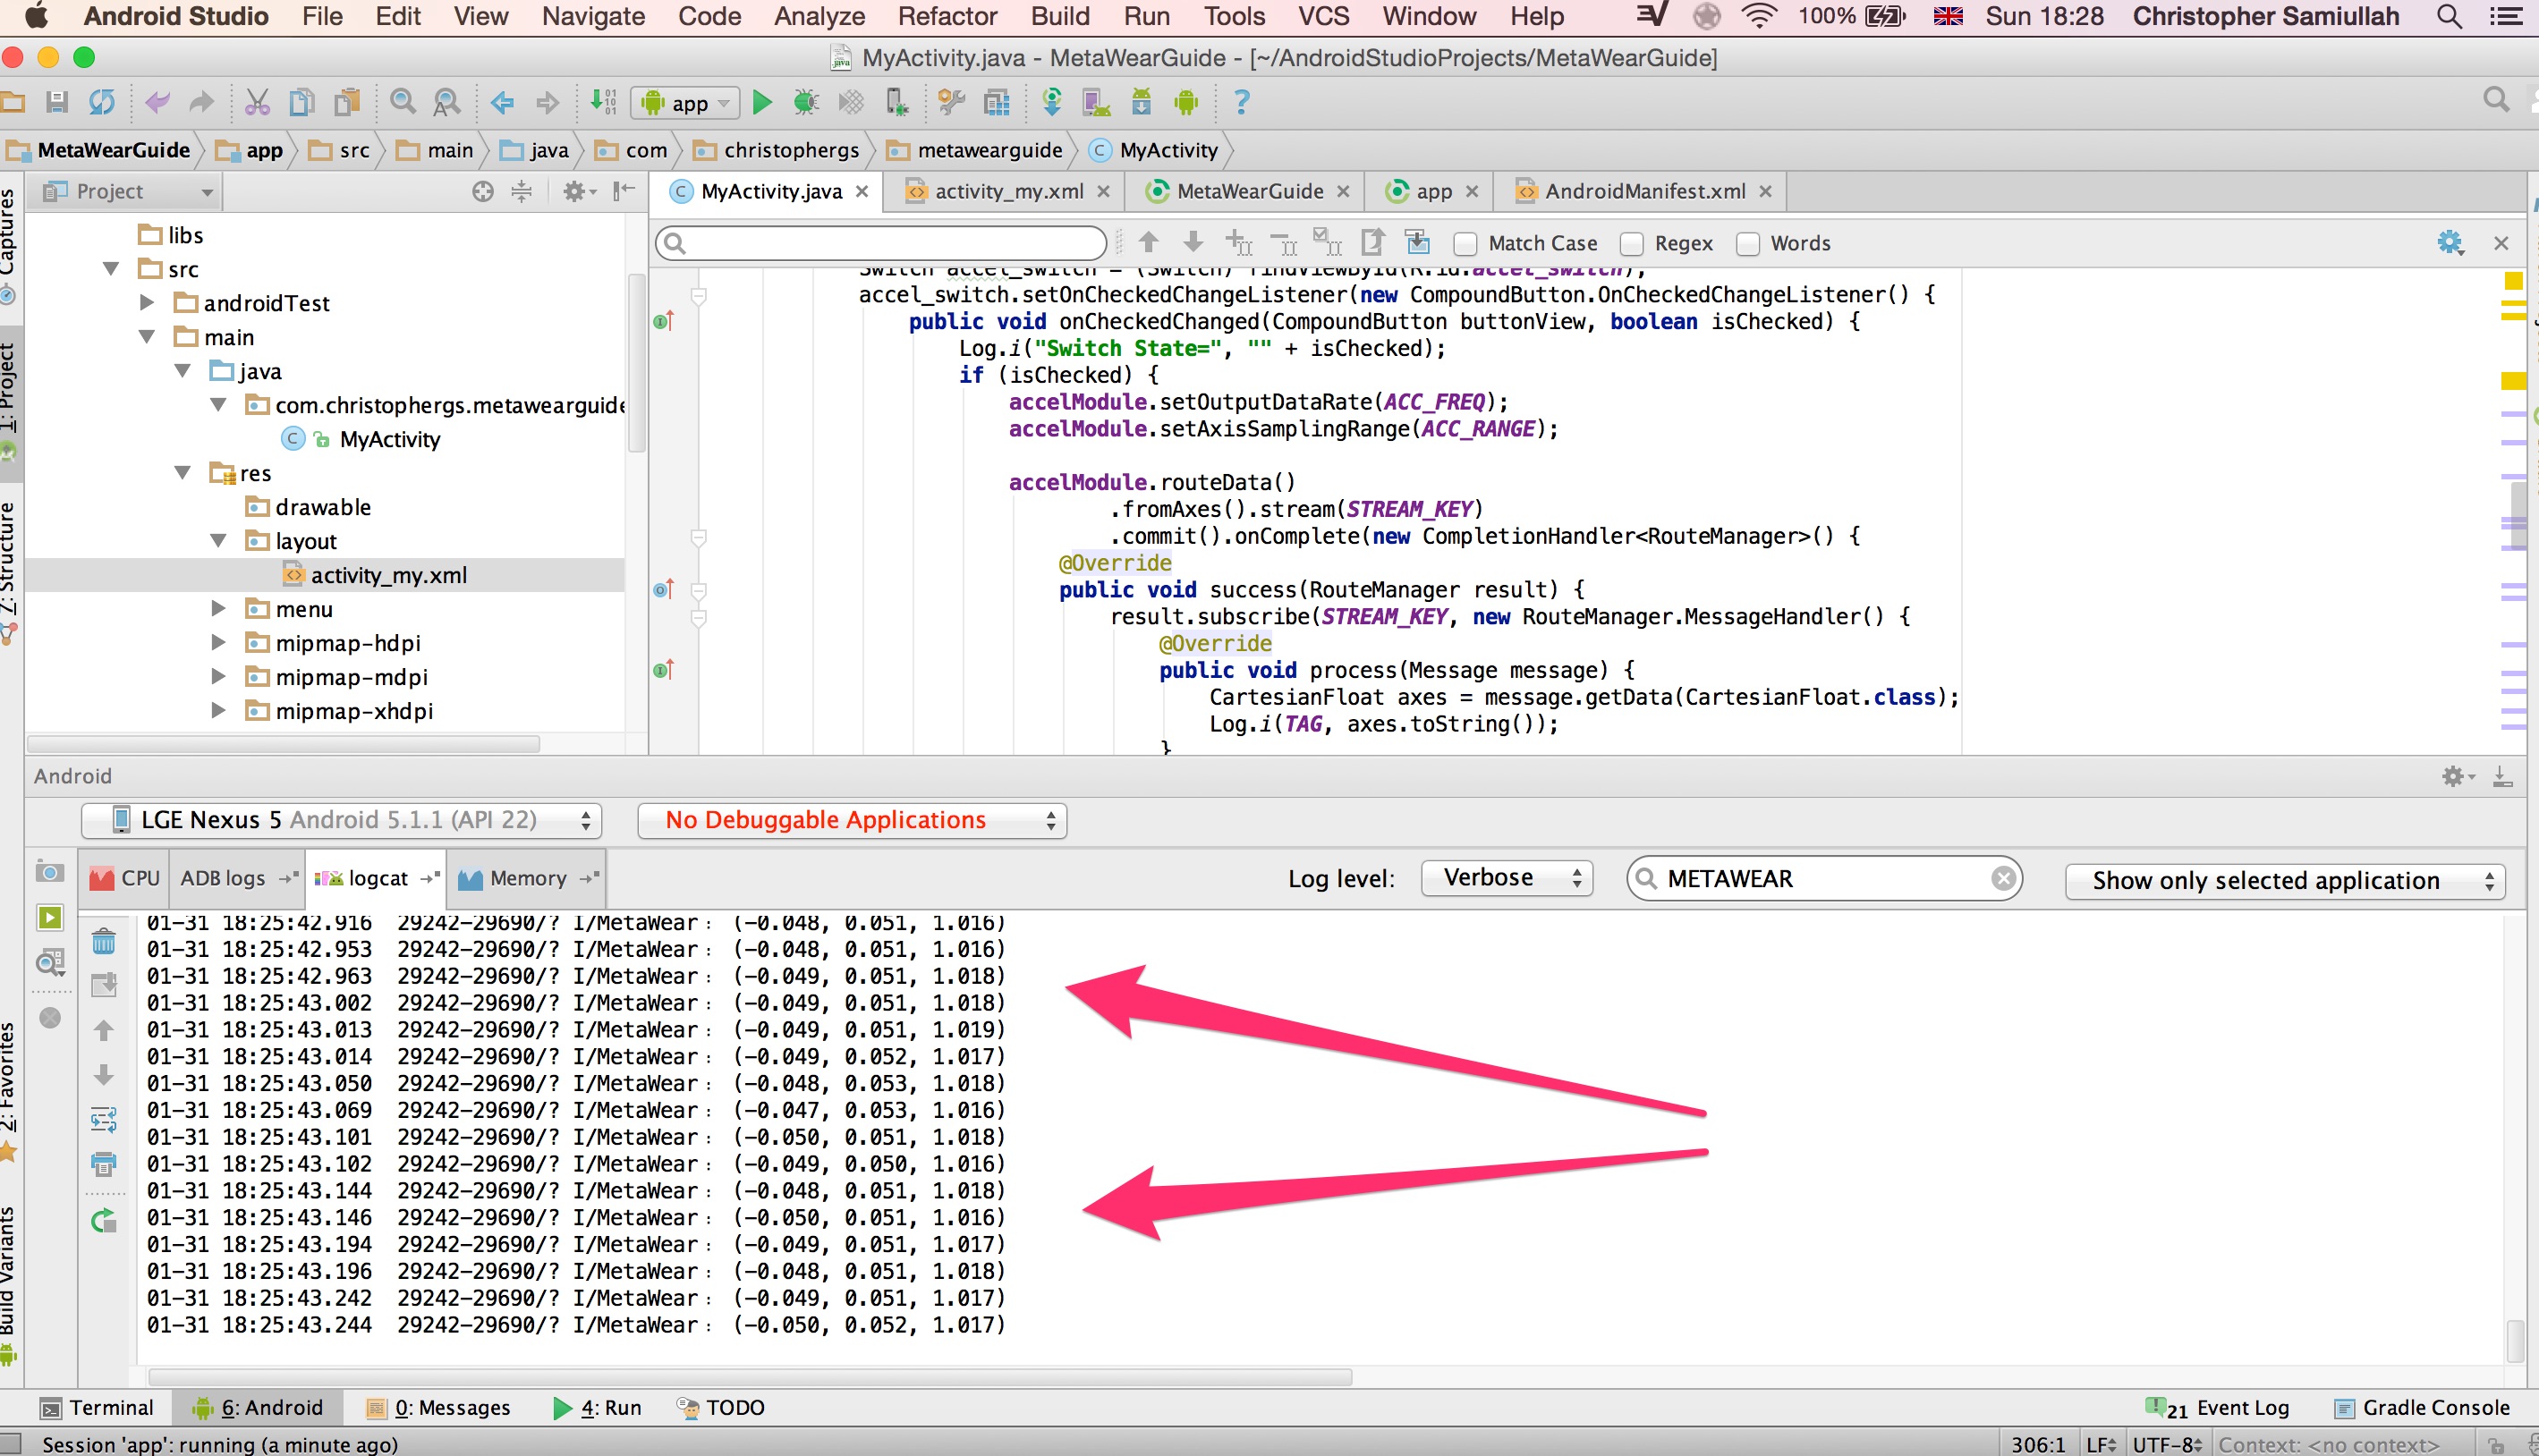
Take a look - run the app (remember to connect to the board first): when you toggle the accelerometer switch on, you should see a stream of logs in the console representing the x, y and z readings from your board’s accelerometer:
Now you are familiar with the basics of streaming. In the next post we’ll look at logging, which is useful when dealing with an inconsistent bluetooth connection.
Note You can view all these changes in the github repository on the branch version-0.4