MetaWear Guide Series Part 2
Prerequisites and initial preparation
This is part 2 of a multipart series showing you how to get started with the MetaWear platform. View the contents of the series to easily skip forwards or backwards
Prerequisites
1) You will need at least one MetaWear sensor, which you can buy from mbientlab. The code in this series should work for any of the MetaWear platform sensors (with a few small differences depending on the available sensors), but I have only tested it on:
- MetaWear R
- MetaWear C
2) You will need an Android phone (running on a minimum of Android 4.3) Unfortunately, at the time of writing the Android Emulator does not support bluetooth, which is required for working with the board.
3) You should download and install the official MetaWear app on your phone. Once you have downloaded the app, use it to make sure that you have the latest firmware installed but clicking the “Update Firmware” button. We will also refer back to this app in the tutorial.
The are also a number of software requirements, let’s tackle them here:
Step 1: Basic Android Setup
As per the google Android docs the first thing to do is download and install Android Studio, which gives you the tools you need. It’s a big download, so allow some time. Note that Android Studio has a few dependencies, such as the Java Development Toolkit (JDK) version 6 or higher. These are detailed on the Android Studio download page. You may prefer to use other IDEs like Eclipse, but for the purposes of this series, we will refer to Android Studio.
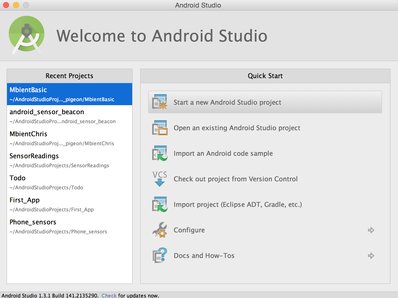
Start up Android Studio, and on the first screen select “Start a new Android Studio project”:
The google Android docs explain the next screen clearly. For this tutorial I am calling my Application “MetawearGuide”, company domain is my github (but could be anything):
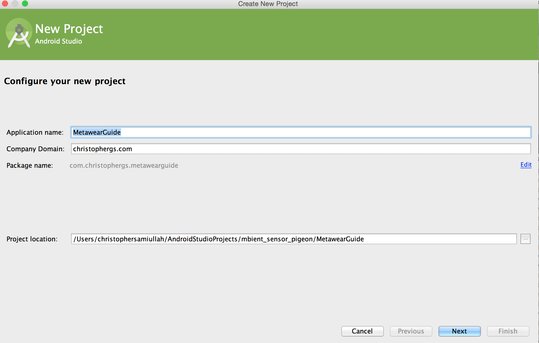
Note also the project location so you can find it later. Hit “Next”.
On this screen, it is important to set the correct Android version. As per the MetaWear docs:
A minimum of Android 4.3 (SDK 18) is required to use this library however some features will not properly function due to the underlying Bluetooth LE implementation. For the best results, it is recommended that users be on Android 4.4 (SDK 19) or higher.
With this in mind, select “API 19: Android 4.4 (KitKat)” from the dropdown menu:
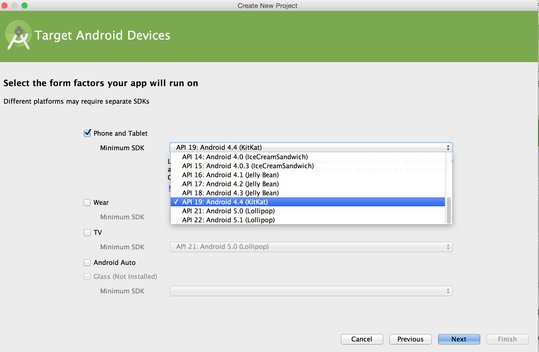
We leave the other options (Wear, TV, Android Auto) unchecked and click “Next”.
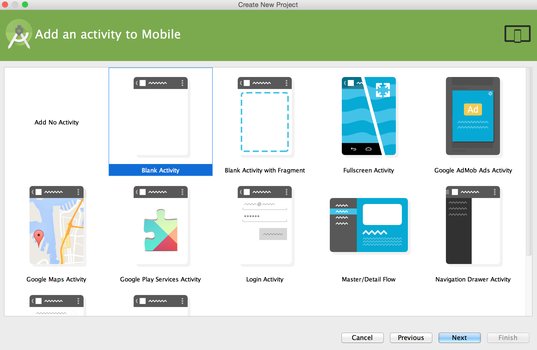
On the “Add an activity” screen, select “Blank Activity” and click “Next”:
Now, to keep the terminology the same as the Google tutorial, on the final screen we will:
- Under “Customize the Activity”, change the Activity Name to “MyActivity”.
- Set Layout Name to “activity_my”
- Set Title to “MyActivity”
- Set the Menu Resource Name as “menu_my”
Click “Finish”. We’ve now created our basic Android Application.
Step 2: Mobile Setup
Now, we have a default “Hello World” app ready to run in Android Studio. Let’s test it. If this is the first time you are using your phone for development, you will need to enable developer options. Connect your Android phone to your laptop using a normal USB to USB-micro cable. For some Android phones (and depending on your computer OS), you may need to download drivers in order for your phone to be recognized by your computer.
In Android Studio, select “Run” (the button with a green play symbol). It will take a little time while the code compiles (this shouldn’t take more than a few minutes). You should then see a popup screen to choose a running device:

Be sure to select your actual phone, rather than using an emulator. Once you select your device, the app will be copied onto your phone, and then open automatically after a few seconds. You should see the “Hello World” app open on your phone. If you have any problems, be sure to review the Google Tutorial, which is very clear.
Step 3: MetaWear Setup
The Metawear API setup instructions say:
To add the library to your project, first, update the repositories closure to include the MbientLab Ivy Repo in the project’s build.gradle file.
repositories {
    ivy {
        url "http://ivyrep.mbientlab.com"
        layout "gradle"
    }
}
and also say Then, add the compile element to the dependencies closure in the module’s build.gradle file.
dependencies {
    compile 'com.mbientlab:metawear:2.4.0'
}
For those new to Android, this can be confusing, because you will find that you have two build.gradle files. To be clear:
- A project in Android Studio represents a complete Android app. Android Studio projects consist of one or more modules.
- A module is a component of your app that you can build, test, or debug independently.
So for our MetawearGuide project, we update build.gradle(Project: Metawear Guide) like so:
//...previous code
allprojects {
    repositories {
        jcenter()
        ivy { //added
            url "http://ivyrep.mbientlab.com"
            layout "gradle"
        }
    }
}
and then our build.gradle(Module: app) like so:
//...previous code...
dependencies {
    compile fileTree(dir: 'libs', include: ['*.jar'])
    compile 'com.android.support:appcompat-v7:22.2.1' //You will need this later
    compile 'com.mbientlab:metawear:2.4.0'
}
Be sure to recompile after adding these dependencies to your gradle files - otherwise you will not be able to complete the next step.
Also, whilst the Android API version is correct at the time of writing, it is under rapid development and is likely to change regularly. Be sure to check the AndroidAPI github repo for the latest version information.
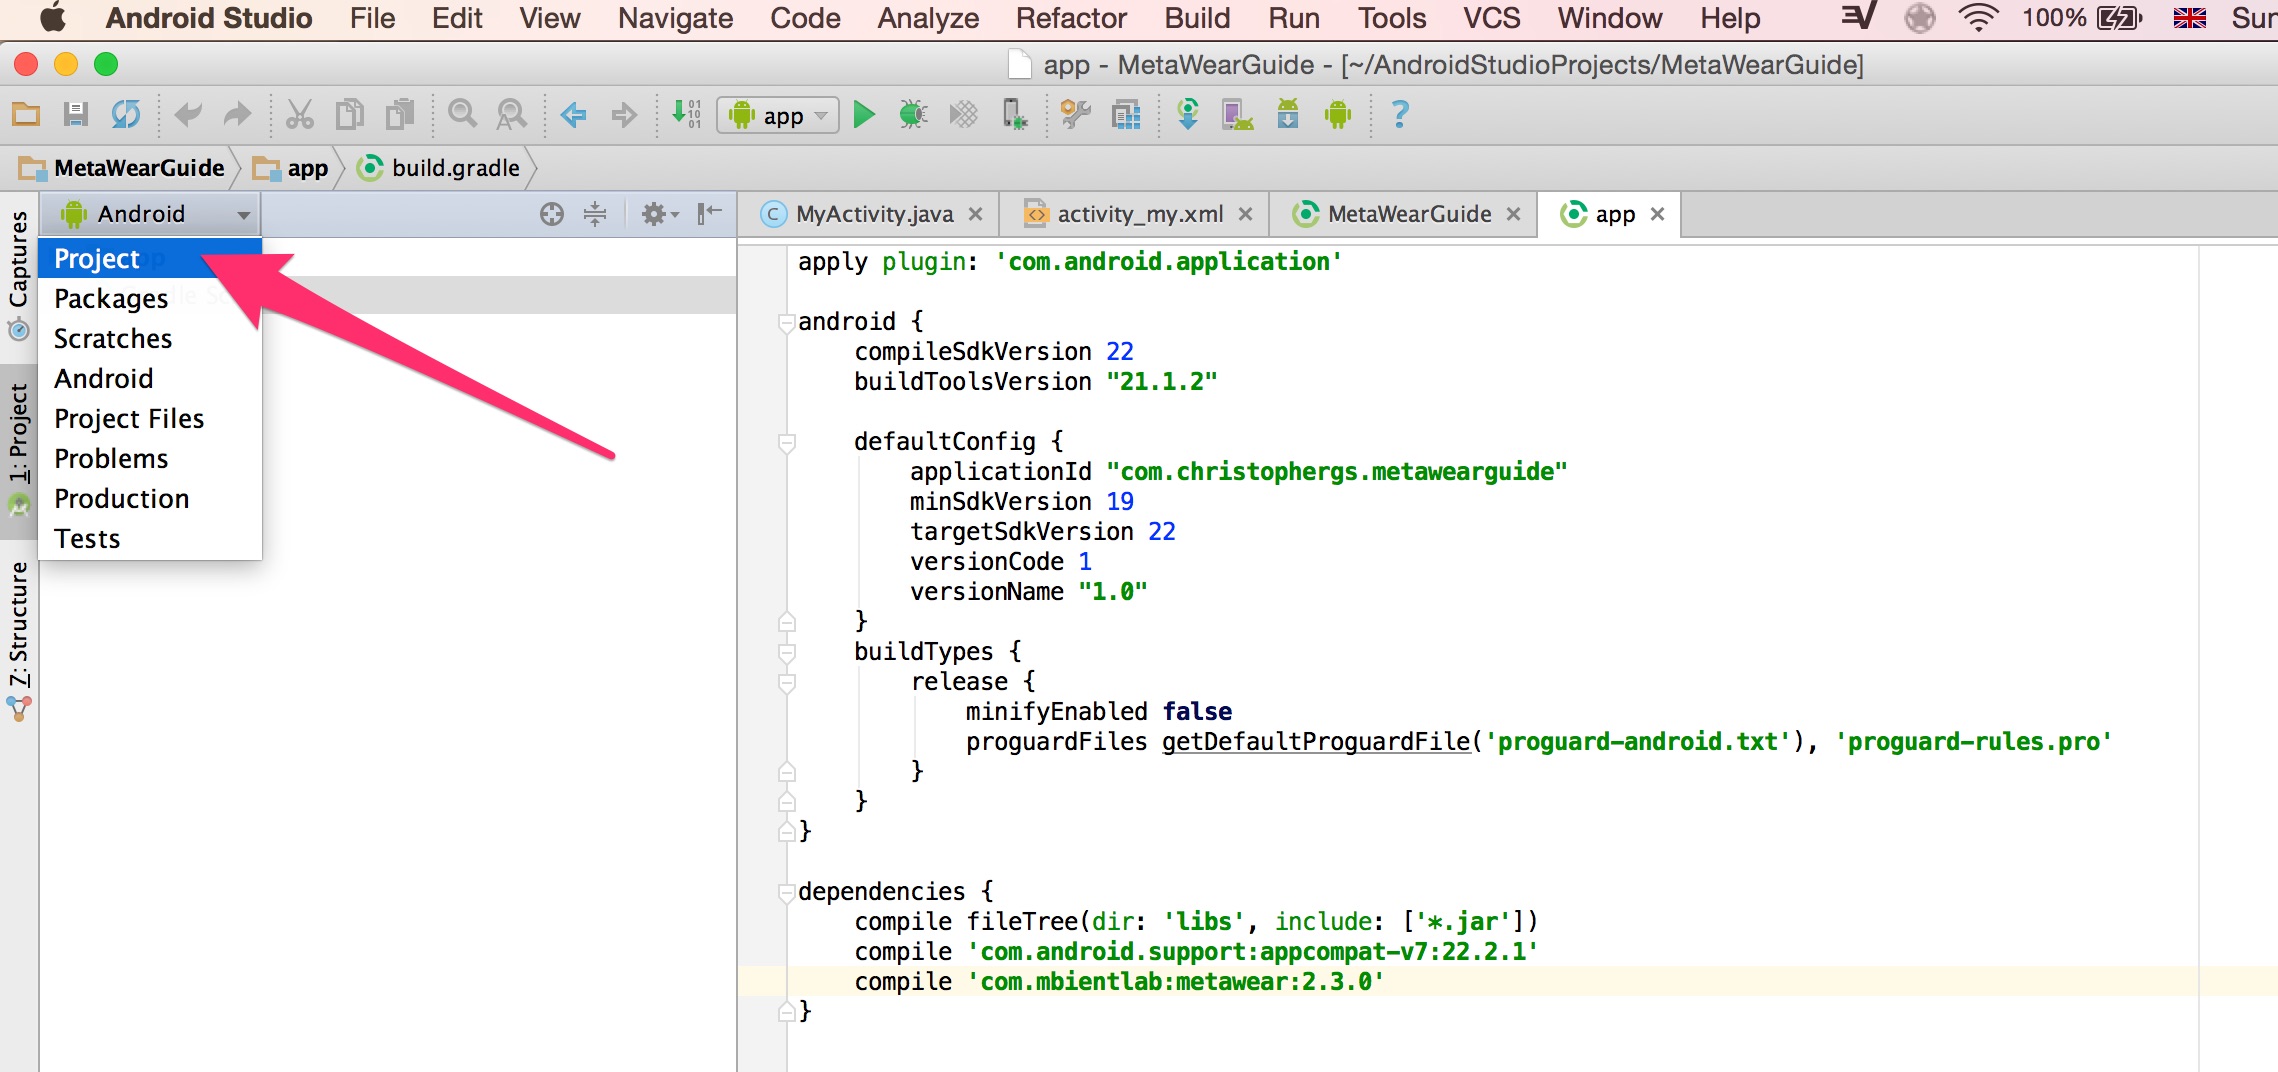
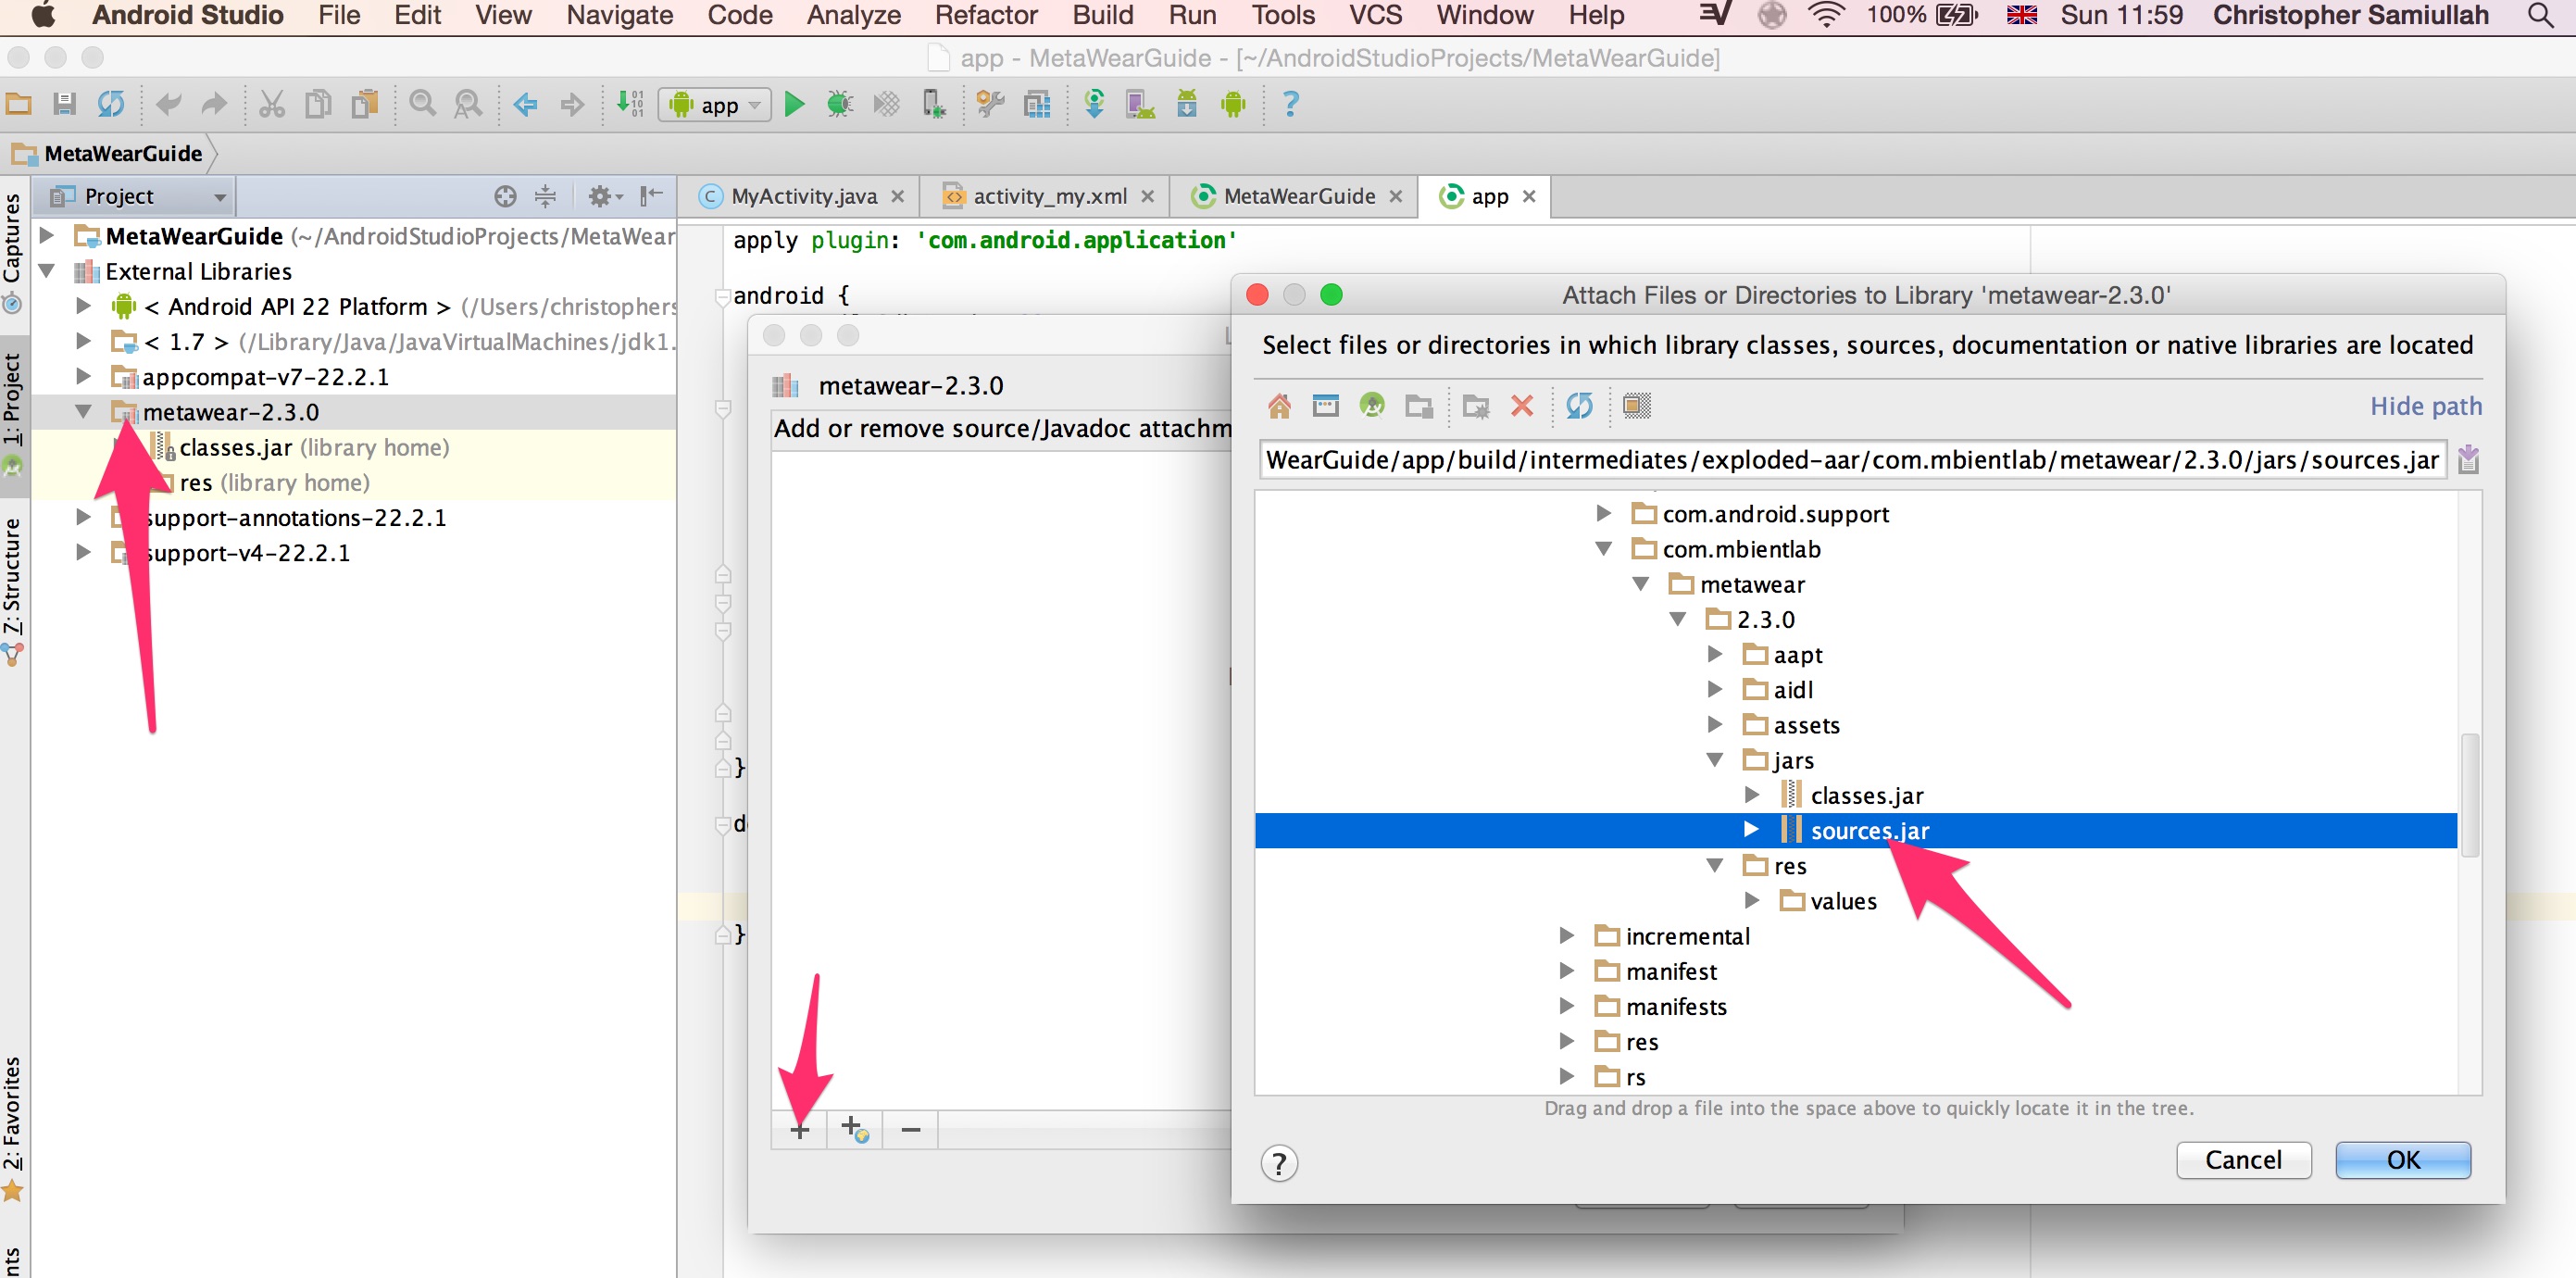
We now need to associate the source code with the AAR package (an ‘aar’ bundle is the binary distribution of an Android Library Project). To do this we switch the project view to display the project structure:
- Expand the “External Libraries” tab
- Right click “metawear-${version}” and select “Library Properties”:
- Press the add button (green plus icon) and select “sources.jar” under the “jar” tab:
Make sure that you sync with the updated Gradle files, then open the AndroidManifest.xml file and declare the MetaWear Bluetooth Low Energy (BLE) service like this:
<application
        android:allowBackup="true"
        android:icon="@mipmap/ic_launcher"
        android:label="@string/app_name"
        android:theme="@style/AppTheme" >

        <service android:name="com.mbientlab.metawear.MetaWearBleService" /> //ADD THIS LINE

        <activity
            android:name=".MyActivity"
            android:label="@string/app_name" >
            <intent-filter>
                <action android:name="android.intent.action.MAIN" />

                <category android:name="android.intent.category.LAUNCHER" />
            </intent-filter>
        </activity>
    </application>
One other key setup point which is not obviously mentioned in the docs is that you need to set permissions for Bluetooth admin. To do this, still in the AndroidManifest.xml file, add the following line at the top:
<?xml version="1.0" encoding="utf-8"?>
<manifest xmlns:android="http://schemas.android.com/apk/res/android"
    package="com.mbientlab.metawear.app" >

    <uses-permission android:name="android.permission.BLUETOOTH_ADMIN" />

    <application
    //...rest of file...
At this point we have done our basic setup. If you run the app, you should see the basic “Hello World!” on your phone.
Now we’re ready to start using the MetaWear - see part three.
Note You can view all these changes in the github repository on the branch version-0.1