The Ultimate FastAPI Tutorial Part 1 - Basic API Endpoints
In part 1 of the FastAPI tutorial, we'll look at a basic API endpoint
Introduction
Welcome to the Ultimate FastAPI tutorial series. This post is part 1. The series is a project-based tutorial where we will build a cooking recipe API. Each post gradually adds more complex functionality, showcasing the capabilities of FastAPI, ending with a realistic, production-ready REST API. The series is designed to be followed in order, but if you already know FastAPI you can jump to the relevant part.
Code
Github repo directory for this part
Tutorial Series Contents
Optional Preamble: FastAPI vs. Flask
Beginner Level Difficulty
Part 1: Hello World
Part 2: URL Path Parameters & Type Hints
Part 3: Query Parameters
Part 4: Pydantic Schemas & Data Validation
Part 5: Basic Error Handling
Part 6: Jinja Templates
Part 6b: Basic FastAPI App Deployment on Linode
Intermediate Level Difficulty
Part 7: Setting up a Database with SQLAlchemy and its ORM
Part 8: Production app structure and API versioning
Part 9: Creating High Performance Asynchronous Logic via async def and await
Part 10: Authentication via JWT
Part 11: Dependency Injection and FastAPI Depends
Part 12: Setting Up A React Frontend
Part 13: Using Docker, Uvicorn and Gunicorn to Deploy Our App to Heroku
Part 14: Using Docker and Uvicorn to Deploy Our App to IaaS (Coming soon)
Part 15: Exploring the Open Source Starlette Toolbox - GraphQL (Coming soon)
Part 16: Alternative Backend/Python Framework Comparisons (i.e. Django) (Coming soon)
Post Contents
Practical Section - Hello World
Further Reading - Automatic Documentation
![]()
Practical Section - Hello World
If you haven’t already, go ahead and clone the example project repo.
See the README file for local setup.
In the app/main.py file, you will find the following code:
from fastapi import FastAPI, APIRouter

# 1
app = FastAPI(
    title="Recipe API", openapi_url="/openapi.json"
)

# 2
api_router = APIRouter()

# 3
@api_router.get("/", status_code=200)
def root() -> dict:
    """
    Root Get
    """
    return {"msg": "Hello, World!"}

# 4
app.include_router(api_router)


# 5
if __name__ == "__main__":
    # Use this for debugging purposes only
    import uvicorn
    uvicorn.run(app, host="0.0.0.0", port=8001, log_level="debug")
Let’s break this down:
- We instantiate a FastAPI
appobject, which is a Python class that provides all the functionality for your API. - We instantiate an
APIRouterwhich is how we can group our API endpoints (and specify versions and other config which we will look at later) - By adding the
@api_router.get("/", status_code=200)decorator to therootfunction, we define a basic GET endpoint for our API. - We use the
include_routermethod of theappobject to register the router we created in step 2 on the FastAPI object. - The
__name__ == "__main__"conditional applies when a module is called directly, i.e. if we runpython app/main.py. In this scenario, we need to importuvicornsince FastAPI depends on this web server (which we’ll talk more about later)
Having done all that (and followed the README setup instructions), you can run
the code in the example repo with this command: poetry run ./run.sh
If you navigate to localhost:8001 you should see:
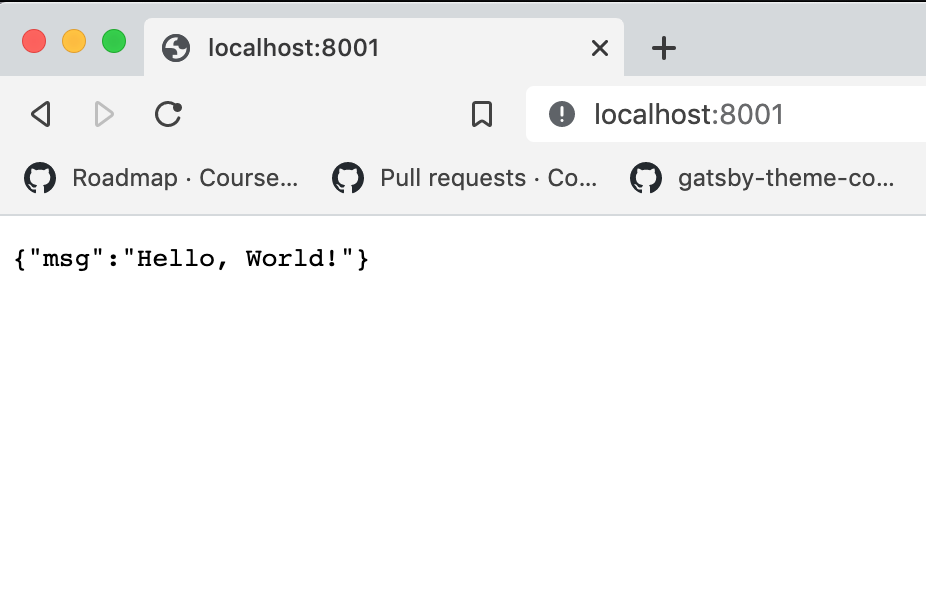
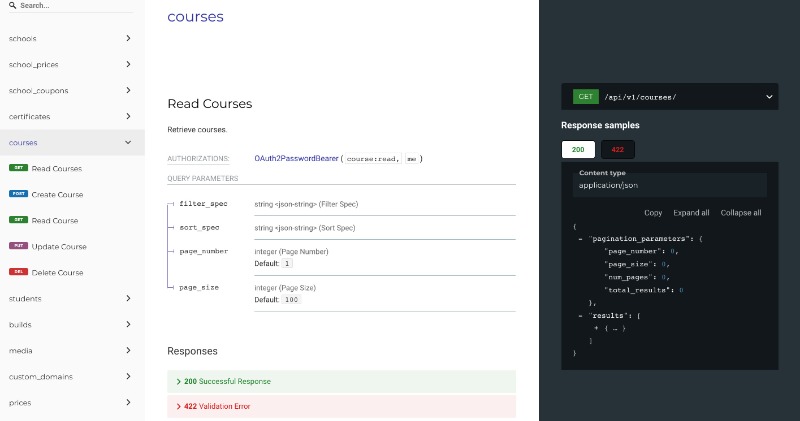
If you can see the “Hello, World!” response, then your API is working. Next up, visit localhost:8001/docs and you should see a screen like this:
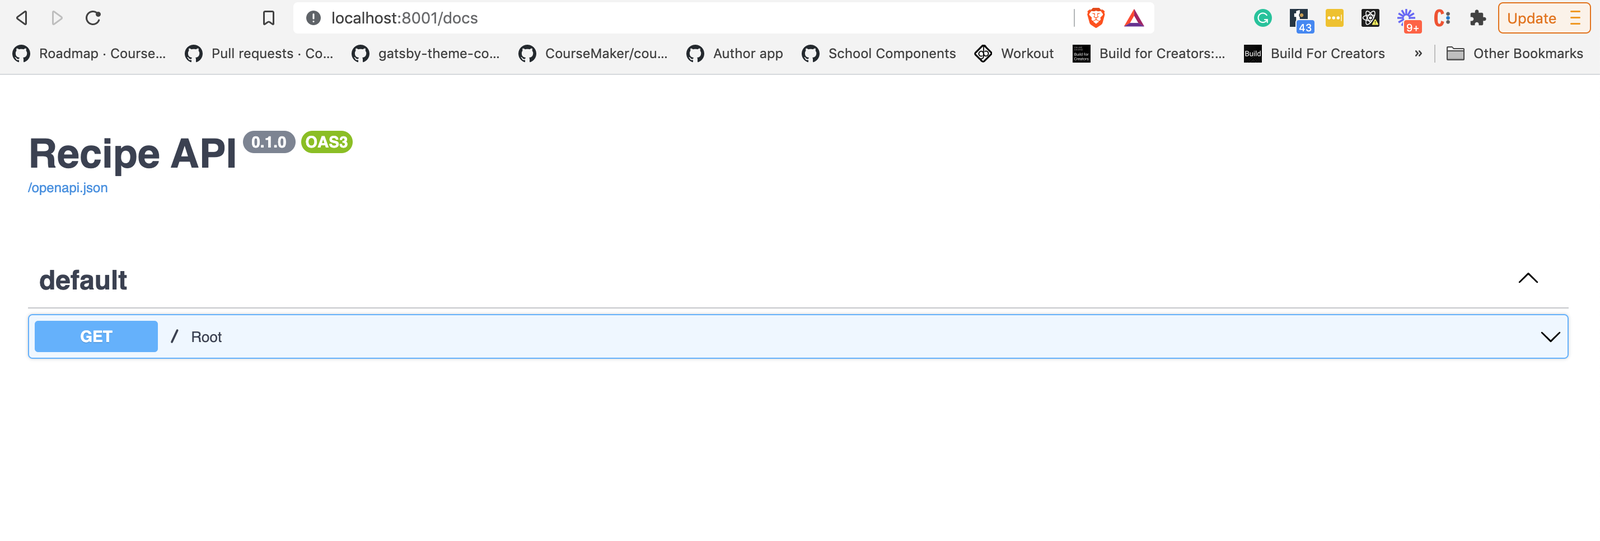
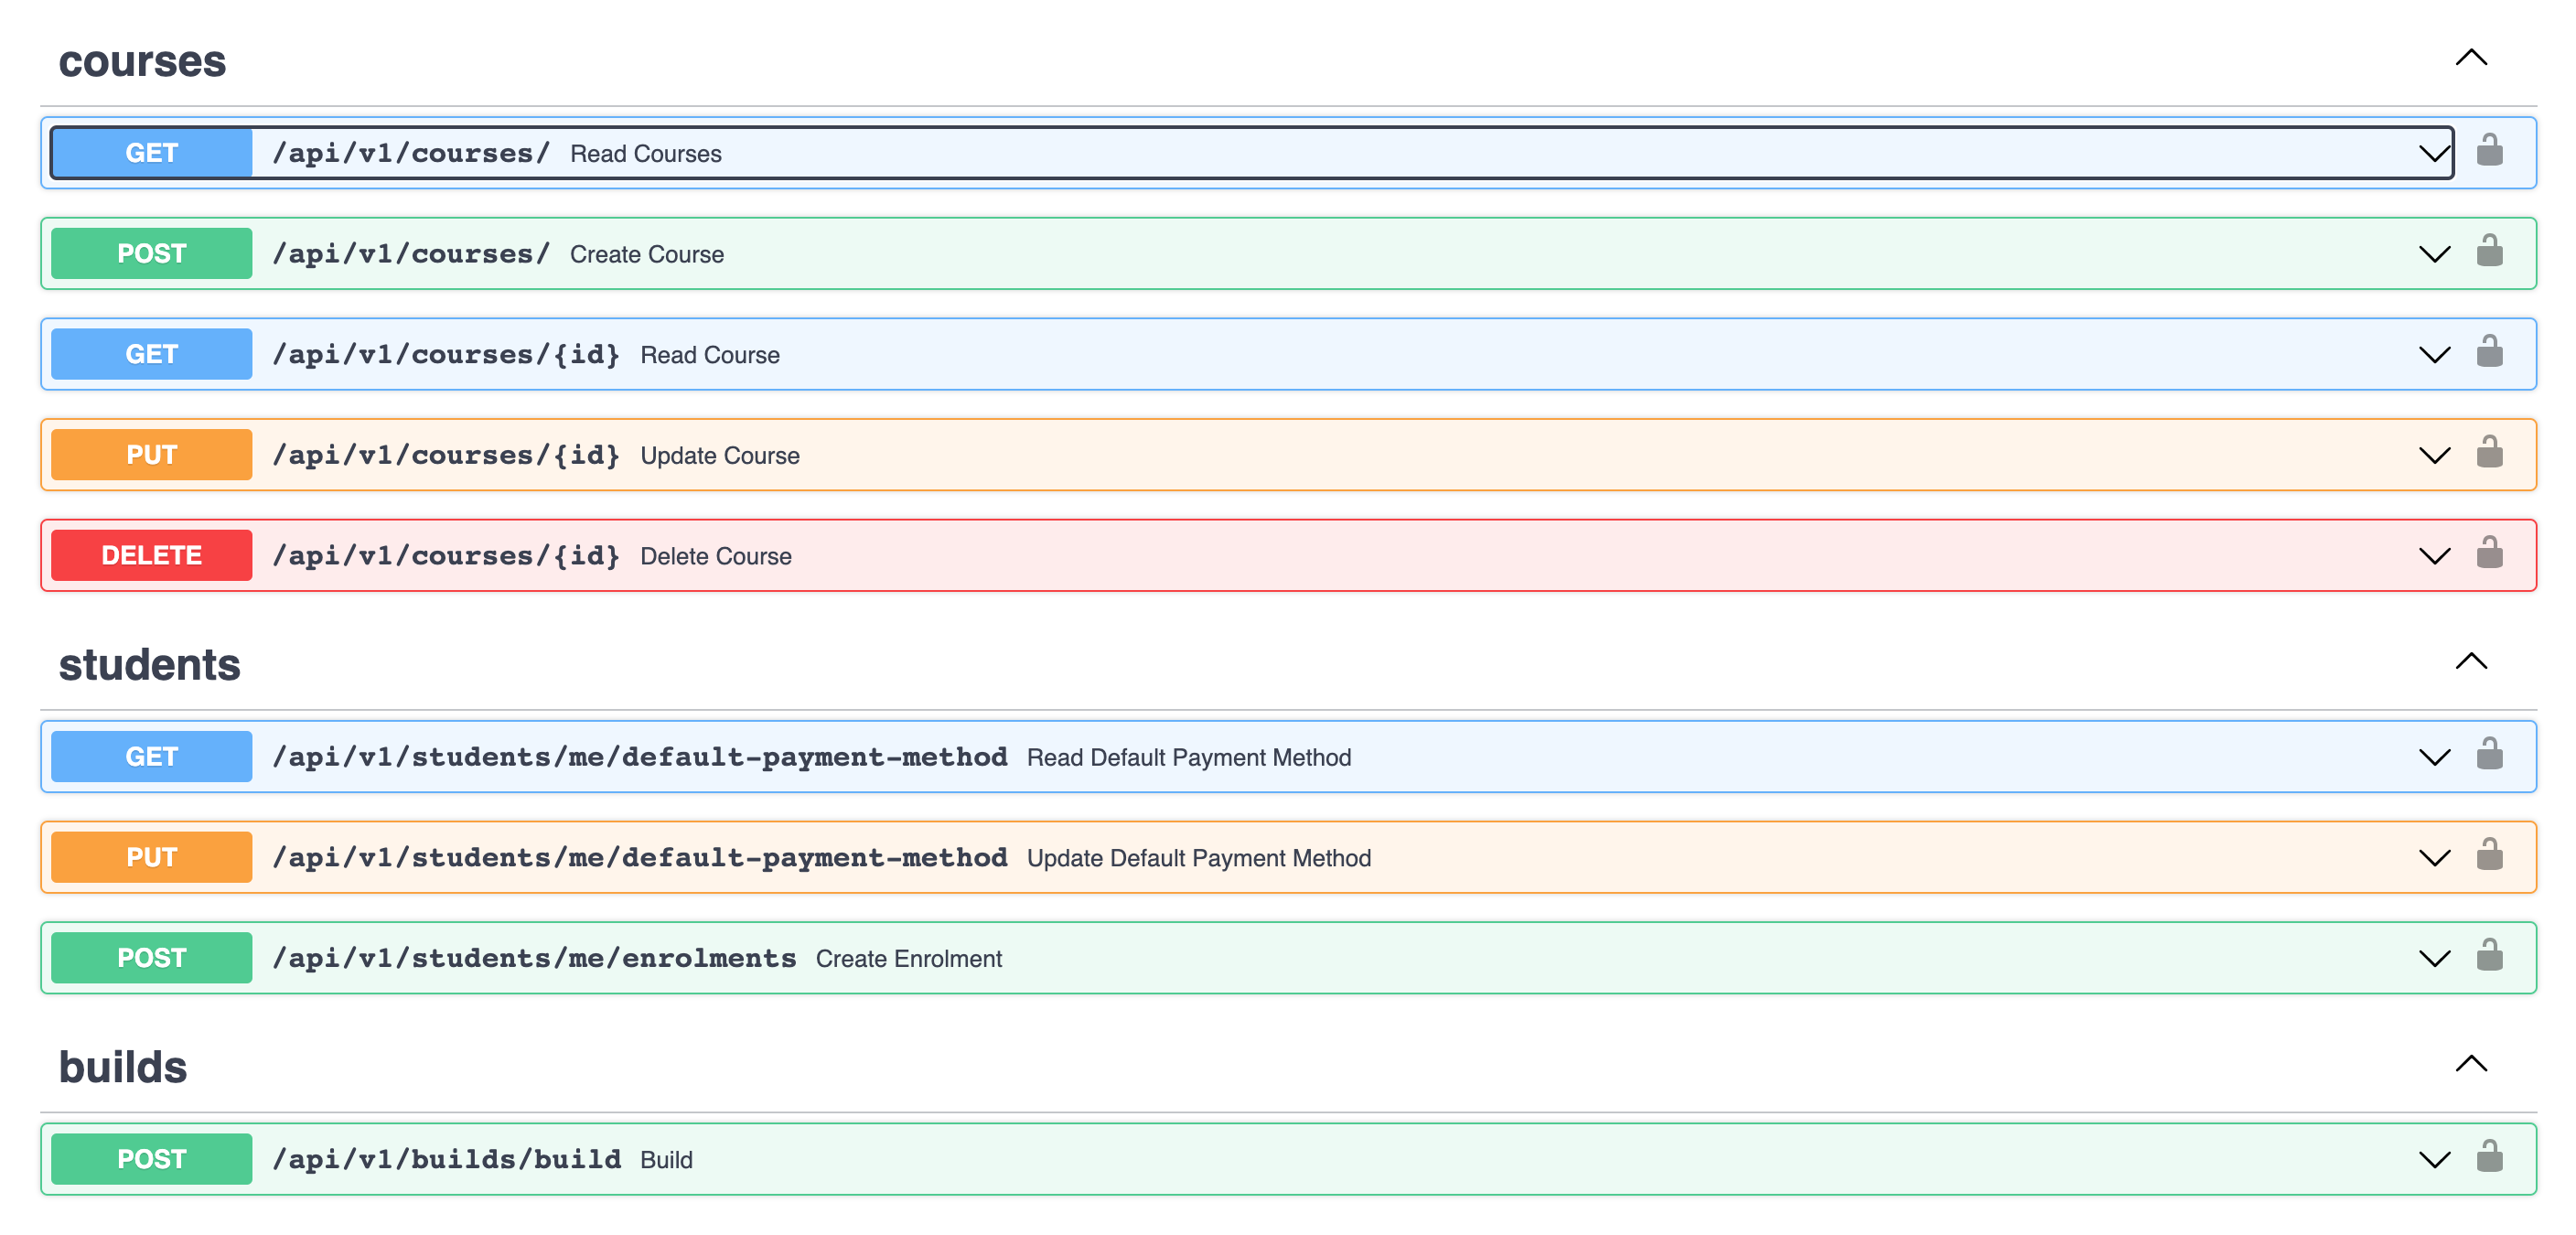
This is the interactive documentation FastAPI offers out of the box, because the framework is built around OpenAPI standards. These docs pages are interactive, and will increase in detail as we add more endpoints and describe the expected input/output values in our code.
Give your endpoint a try:
- Expand the GET endpoint by clicking on it
- Click on the “Try It Out” button
- Press the large “Execute” button
- Press the smaller “Execute” button that appears
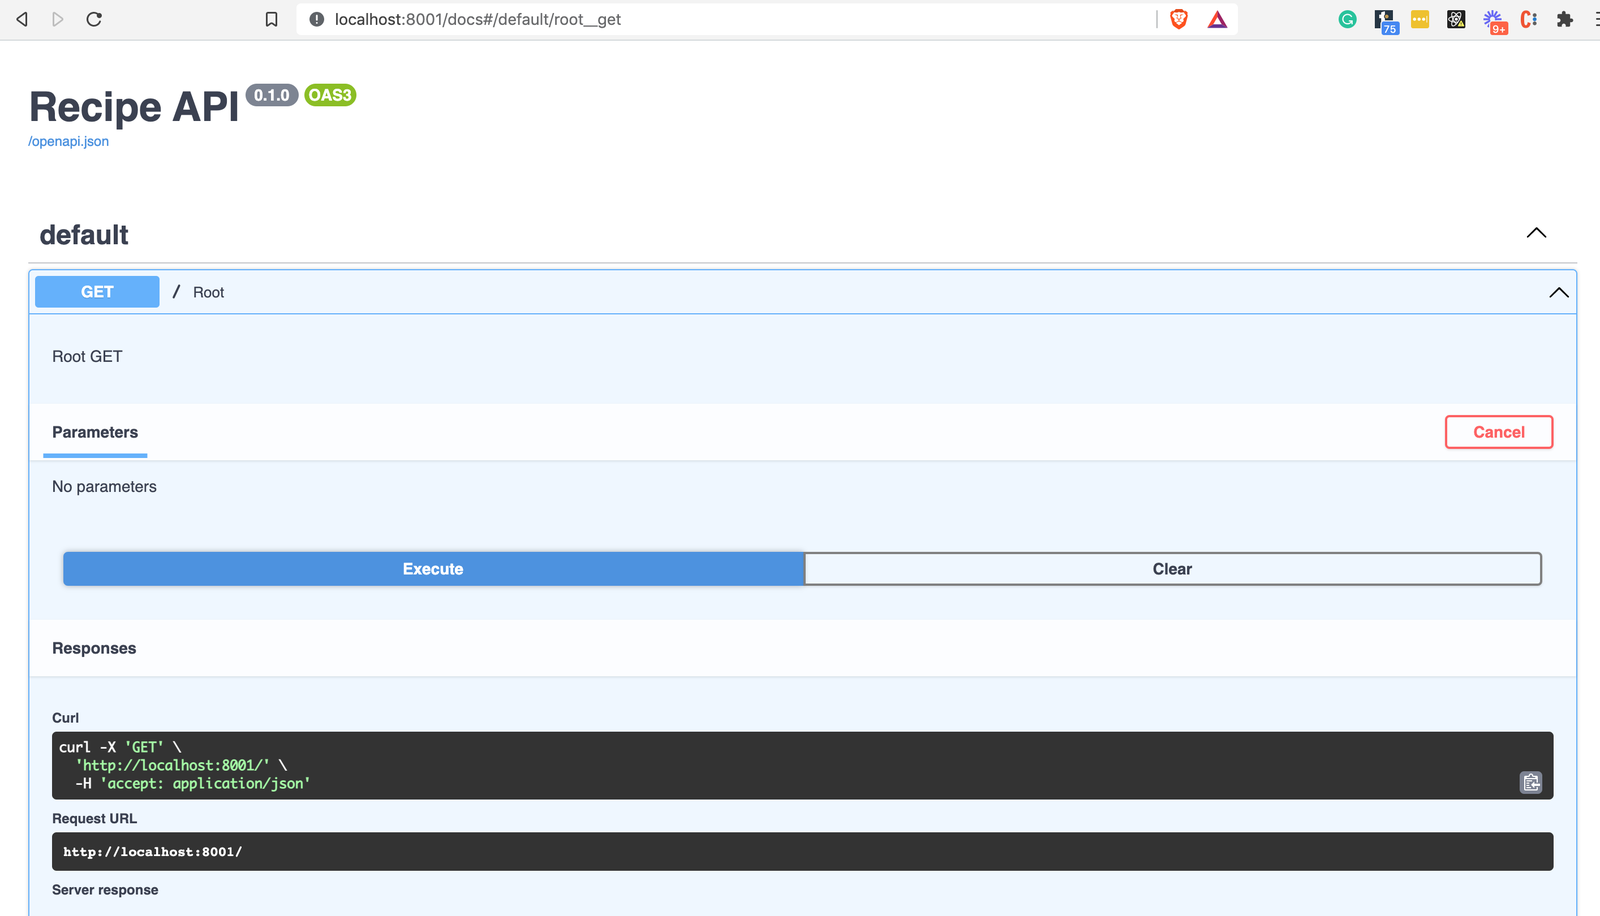
You can see the API response body (our “Hello, World!” message), as well as the curl command
that FastAPI has run under the hood for you. We will use this functionality throughout
the tutorial series to easily inspect our endpoints.
Further Reading: Automatic Documentation
FastAPI is carefully built around the OpenAPI Specification (formerly known as swagger) standards. In FastAPI, by coding your endpoints, you are automatically writing your API documentation. Under the hood, FastAPI maps your endpoint details to a JSON Schema document. The generated documentation can (if given enough detail) display:
- Path operations
- parameters
- body requests
- security details such as required headers
Out of the box, can choose what your preferred documentation UI display as either:
Both of these options offer interactive documentation pages where you can input request data and trigger responses which is handy for bits of manual QA.
There are added benefits such as automatic client generation.
Continue Learning FastAPI
In the next part of the tutorial, we’ll start adding endpoints with URL path parameters.